Metamask is one of the most popular wallet available as an extension for most browsers. It supports all Ethereum tokens as well as Binance smart chain tokens. This makes it a very powerful wallet and you can use it to store all your ETH and BSC tokens in one place. It allows easy integration with most decentralised exchanges and also has a direct swap function to buy/sell tokens.
The Metamask application is available for both android and iOS users. It can also be used on desktop and offers support for Chrome, Firefox, Brave and Edge browsers. Below is the step by step guide for installing and using Metamask.
Installing Metamask on Chrome
For installing Metamask on Chrome, you will need to install the extension for browser support which is available in the Chrome store. The steps for installing Metamask on Chrome are outlined below.
- Head to the official site for Metamask and click on the download now button. It will open a new window as shown below.
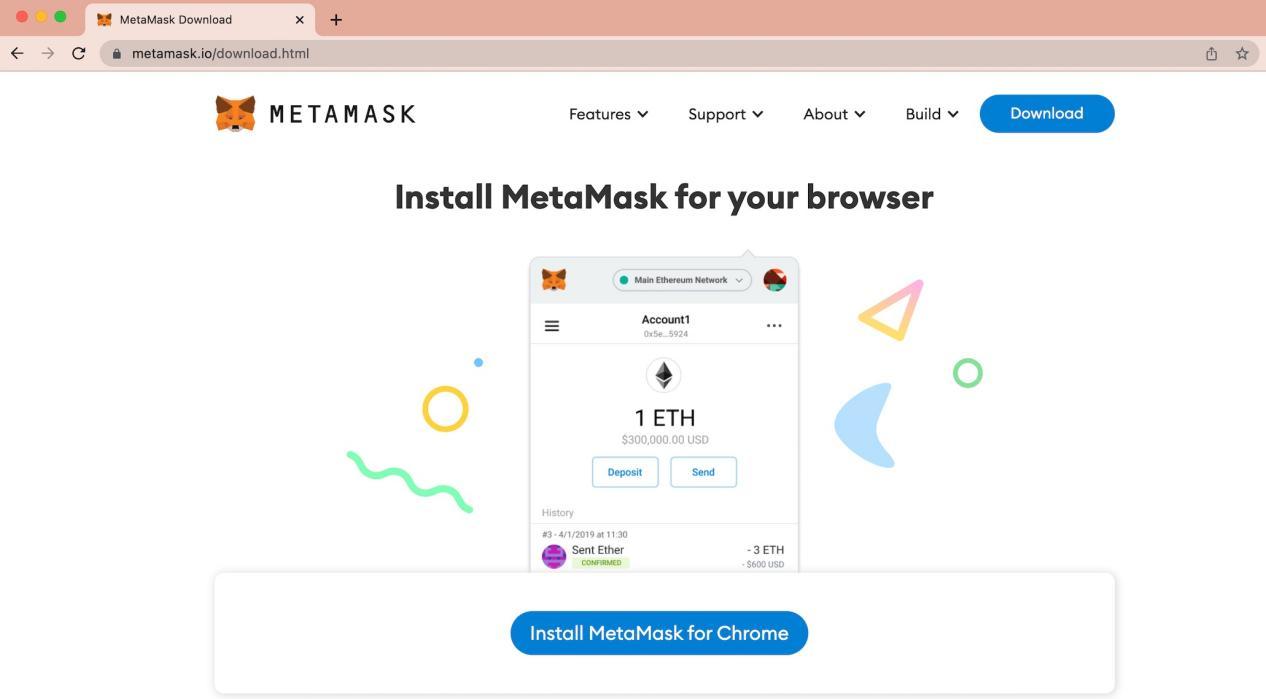
- Click on Install Metamask for Chrome button. It will open a new tab and will take you to the Chrome app page where you can install it as an extension for Chrome as shown below.
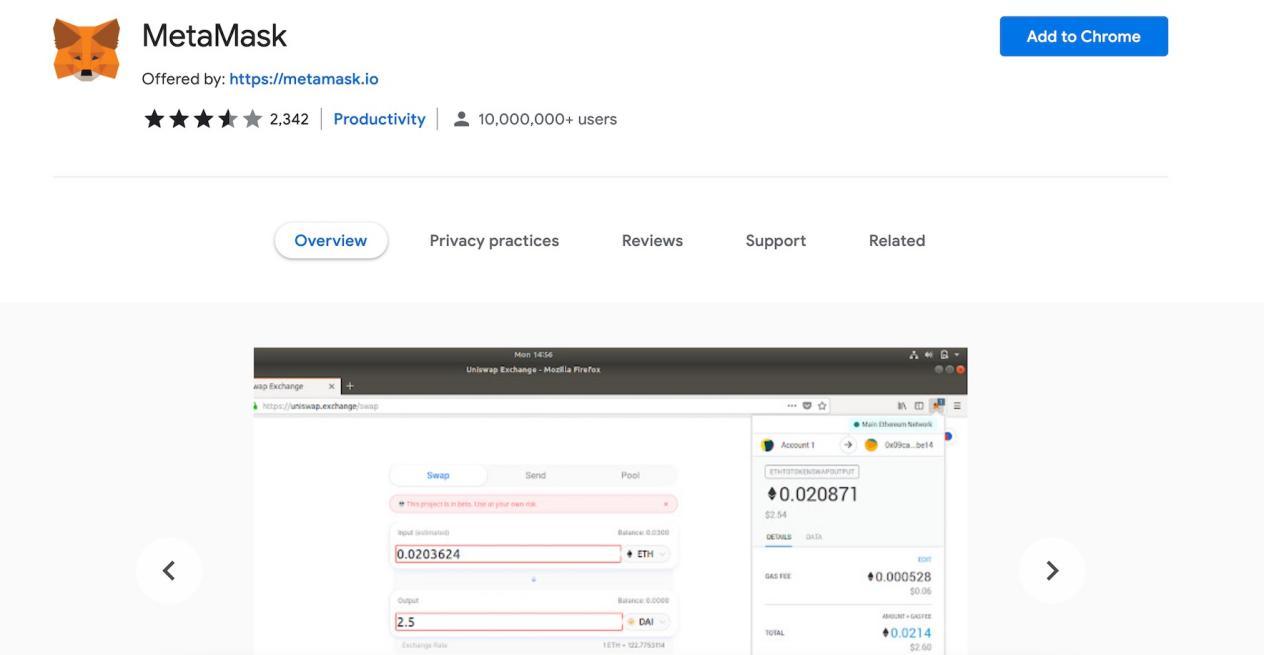
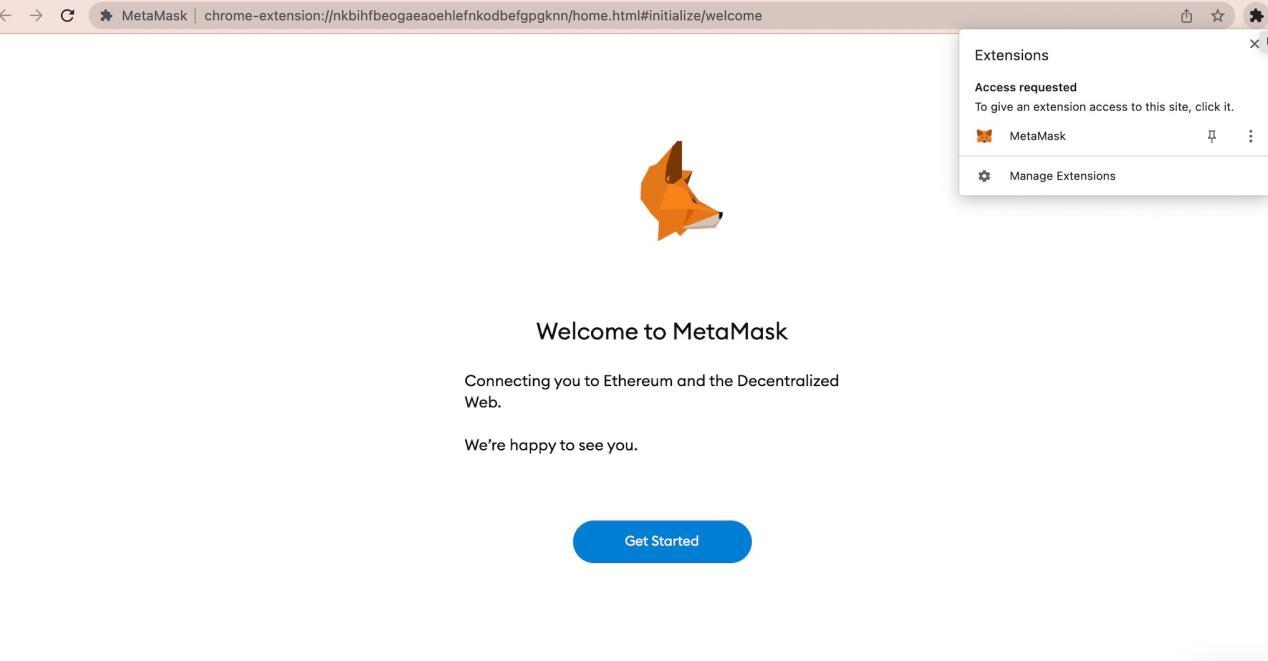
- Click on the Add to Chrome button and Metamask will be installed as an extension for the Chrome browser. It can be accessed easily from the browser by clicking on the icon as shown below.
Installing Metamask on Firefox
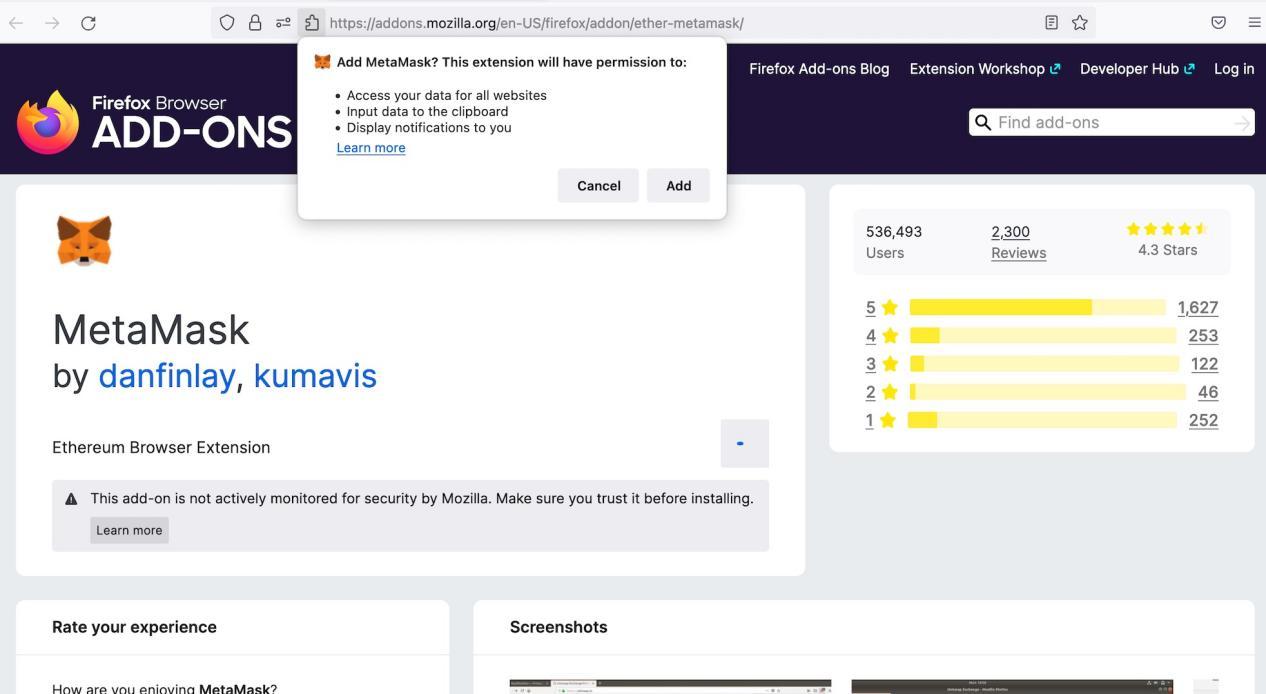
If you wish to use Metamask for Firefox, select the Firefox option and click on download. The Metamask extension will be added to the Firefox browser just like in case of Chrome as shown below. The steps for creating a wallet are same and are described below.
Creating MetaMask Wallet
At this stage, you will need to create a new Metamask wallet if you don’t have one already. You may import an old wallet or create a new one and the steps are outlined below.
- Click on the extension icon and the Metamask wallet interface will open where you can create a new wallet or import an old one. To create a new wallet, click on the Create a Wallet button.
- Click on the I agree button to accept the terms and condition. It will open a new page where you can select a password. Type in a strong password and click on the I agree box, then click on the Create button as shown below.
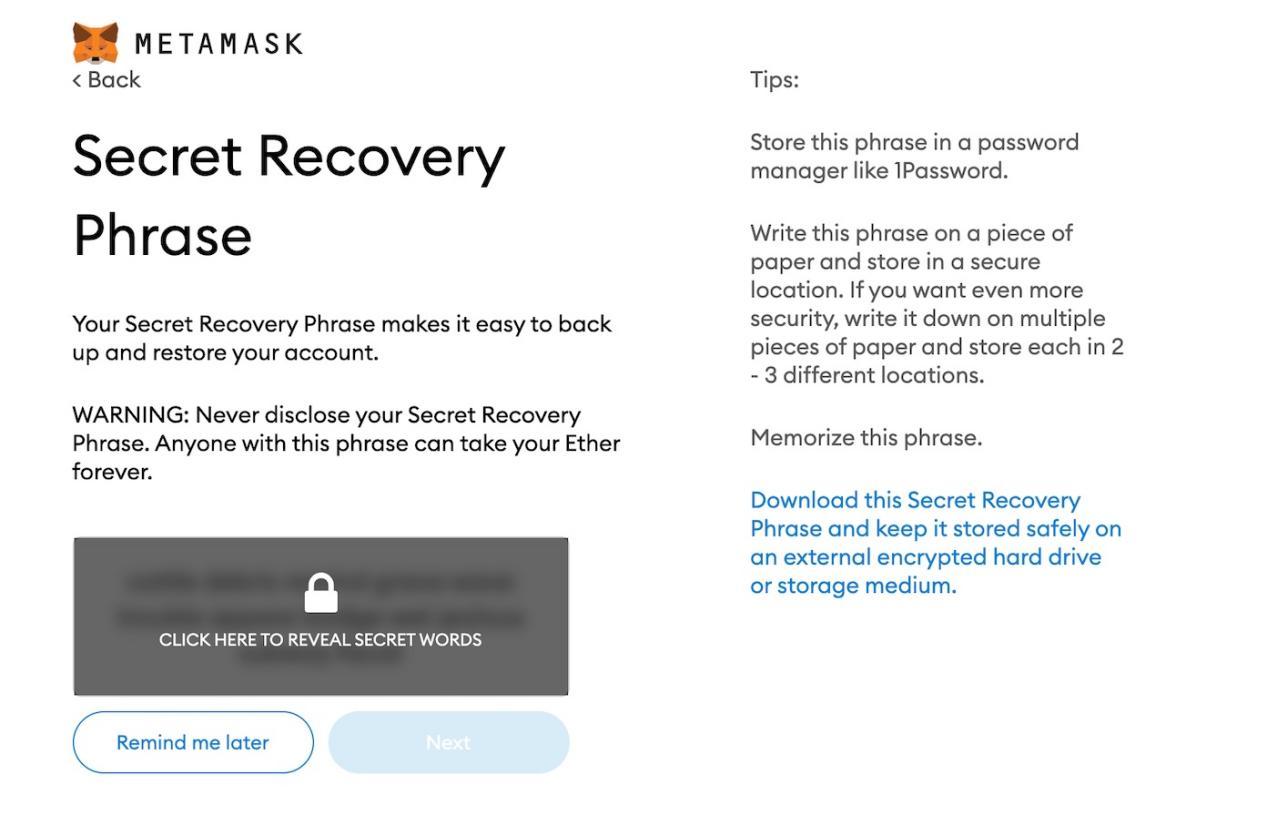
- This will take you to another window with a video where you can watch a video on safety features. Click on Next and save thee secret recovery phrase. This is a very important step and you must take care to write down the secret recovery phrase as it will be required to restore/reinstall the wallet account later in case you wish/need to. Losing the phrase may mean losing access to the wallet forever and also losing all funds or assets inside the wallet so please be very careful and store the secret recovery phrase in a safe location.
- Click to reveal the secret phrase and save it by writing it down or in a digital manner.
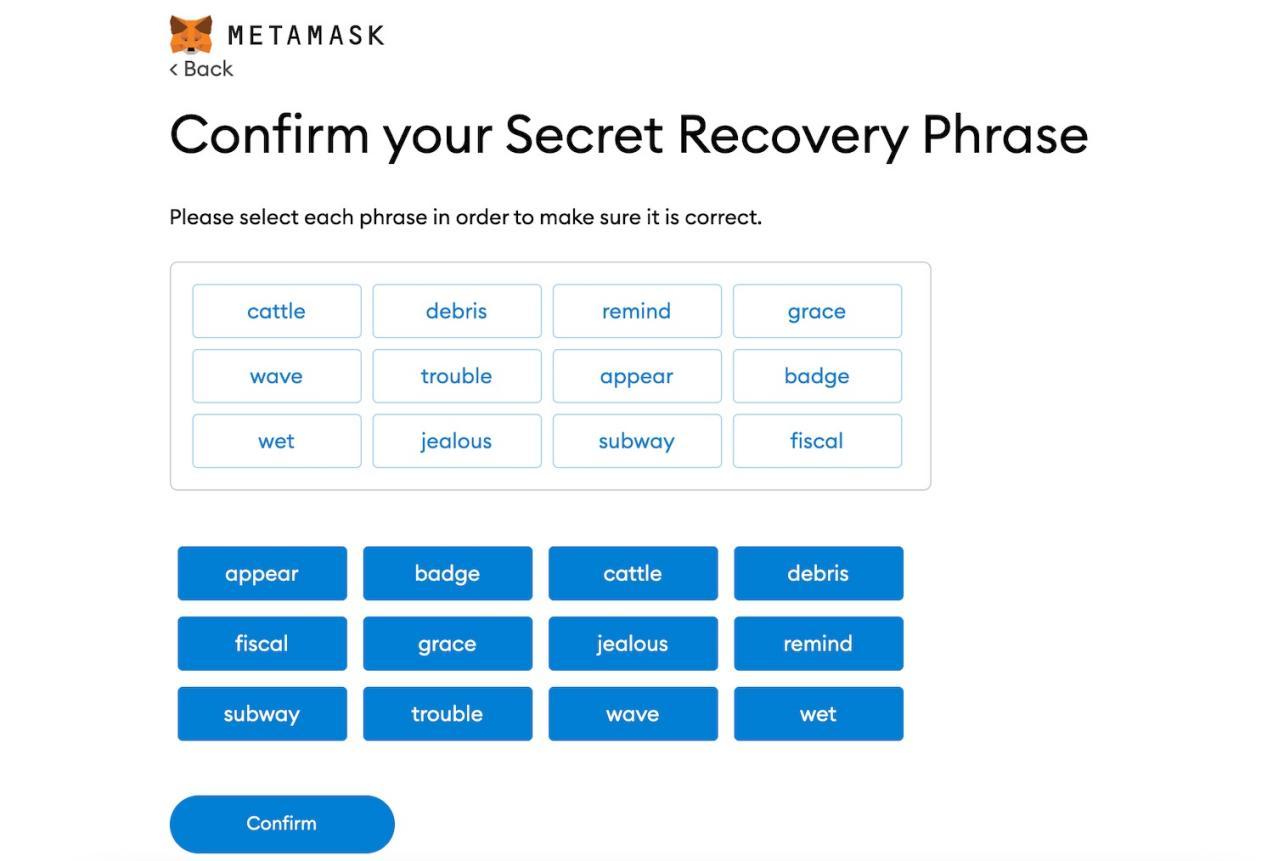
- Then, click on Next and this will open a new window where you will need to confirm the secret recovery phrase. Type the words in the exact same sequence and click on the Next button.
- This is it! The wallet is now successfully created. Click on the All Done button and this will open the Ethereum wallet by default as shown below.

How to Deposit Coins to Metamask wallet
For depositing coins to your Metamask wallet, you will need to share the wallet address. If you wish to transfer the coins from an exchange, simply copy and paste the wallet address and click on the send option. You can then view the deposited coins in your Metamask wallet once they are deposited. You might need to add the tokens manually before you are able to view them and these steps are outlined below.
How to transfer funds in Metamask
Metamask can be used to transfer funds at the click of a button. Simply input the address where you wish to send tokens and click on the send button.
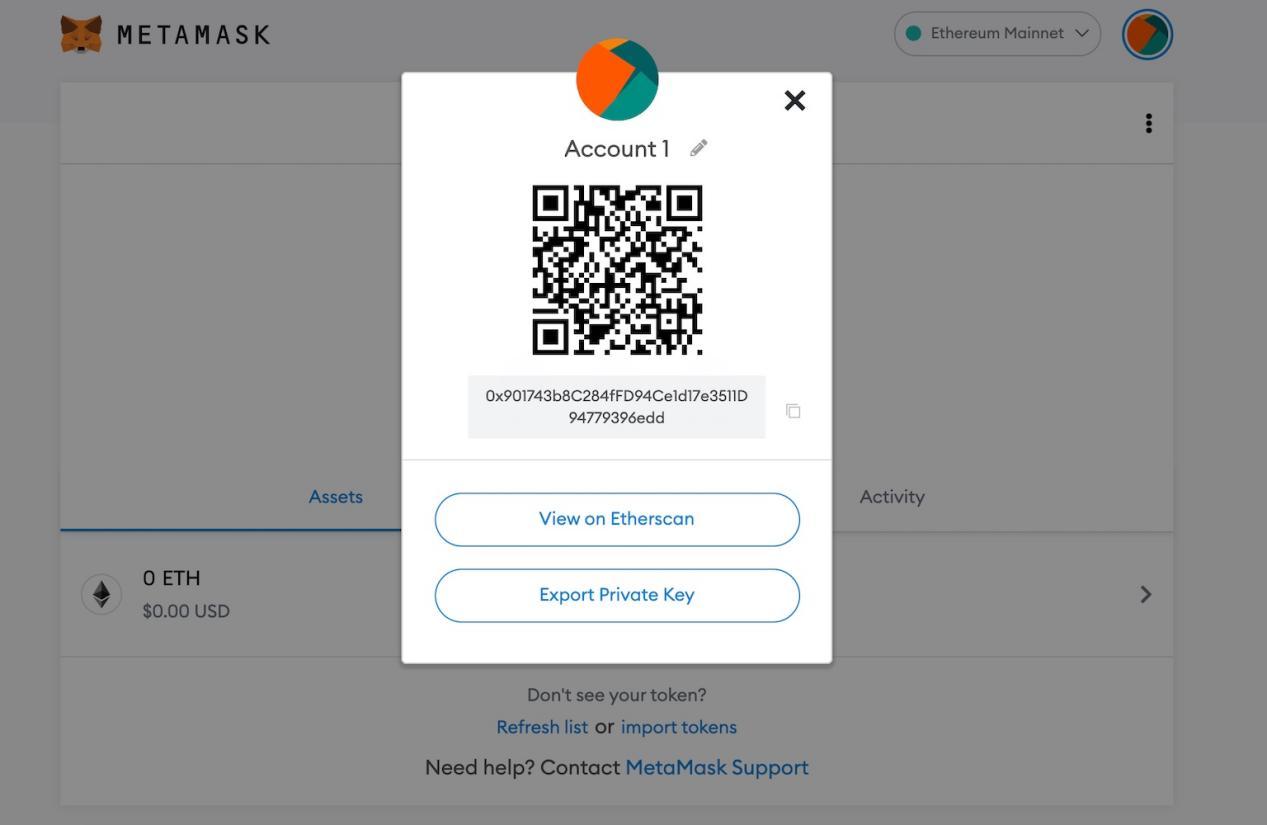
- Click on the three dots on the right-hand side corner and it will display your account as shown below. You can export your private key by typing your password, copy your ETH address and view the account on Etherscan. You can share the address with others to receive funds and use it to transfer funds to this newly created wallet.
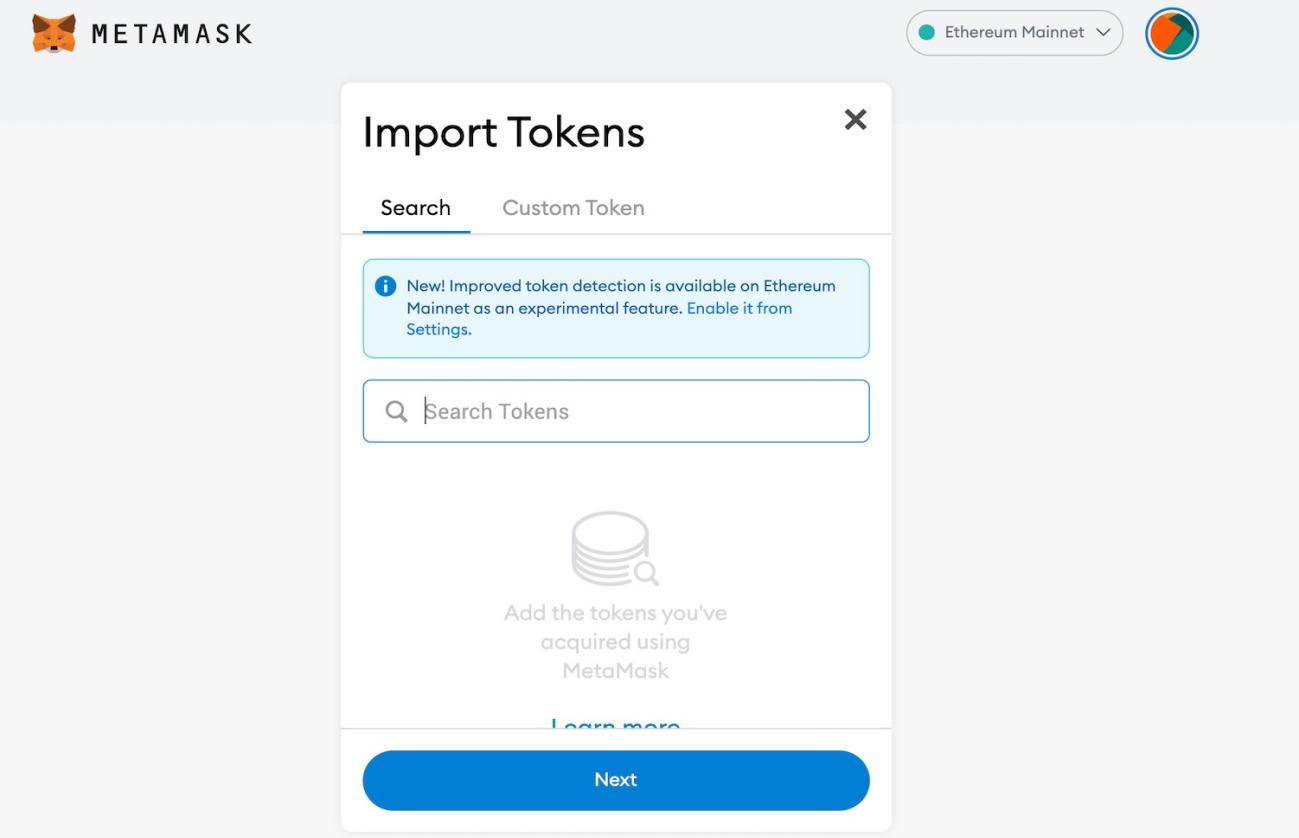
- You can import tokens once you receive funds by clicking on the import tokens link given at the button. This will allow you to search for a token directly or import it by entering its contract address and few details under the Custom Token tab as shown below.
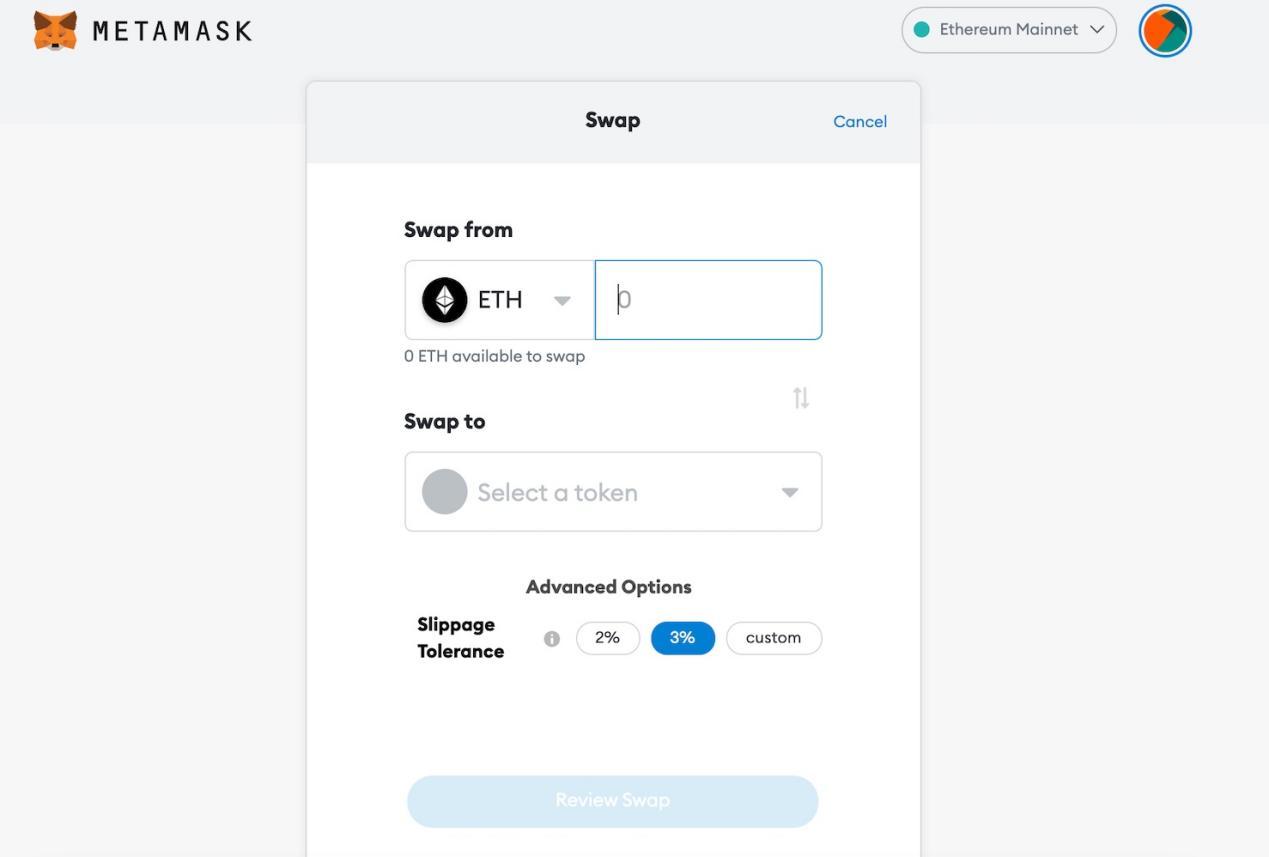
- You can buy/sell/swap tokens directly using Metamask by clicking on the relevant buttons.
Add networks to Metamask
You can use multiple networks with Metamask and it is not limited to Ethereum alone. The default network is Ethereum but Metamask can also be used for Binance Smart Chain. To use and add functionality for the Binance Smart Chain, follow the steps outlined below.
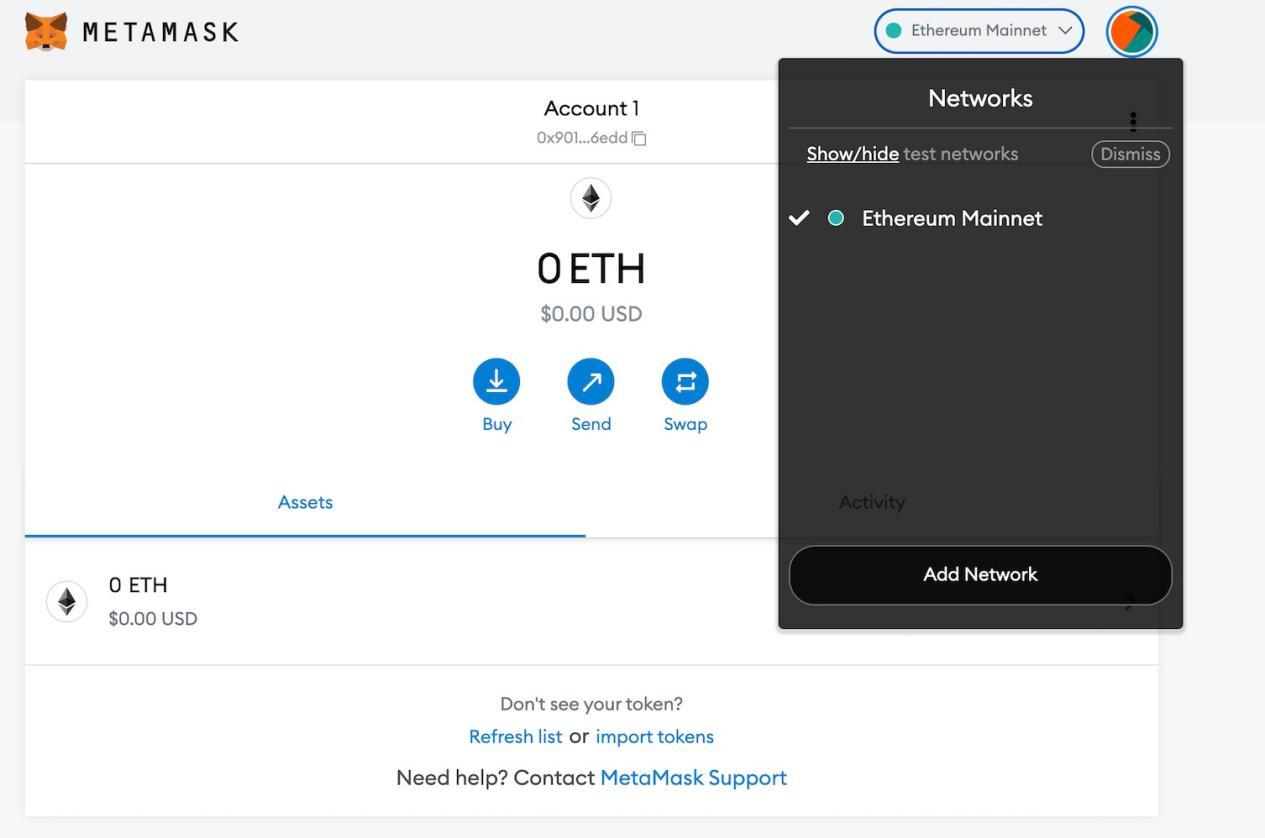
- Click on the Ethereum Mainnet tab on top and this will open a drop down menu as shown below. Click on Add Network.
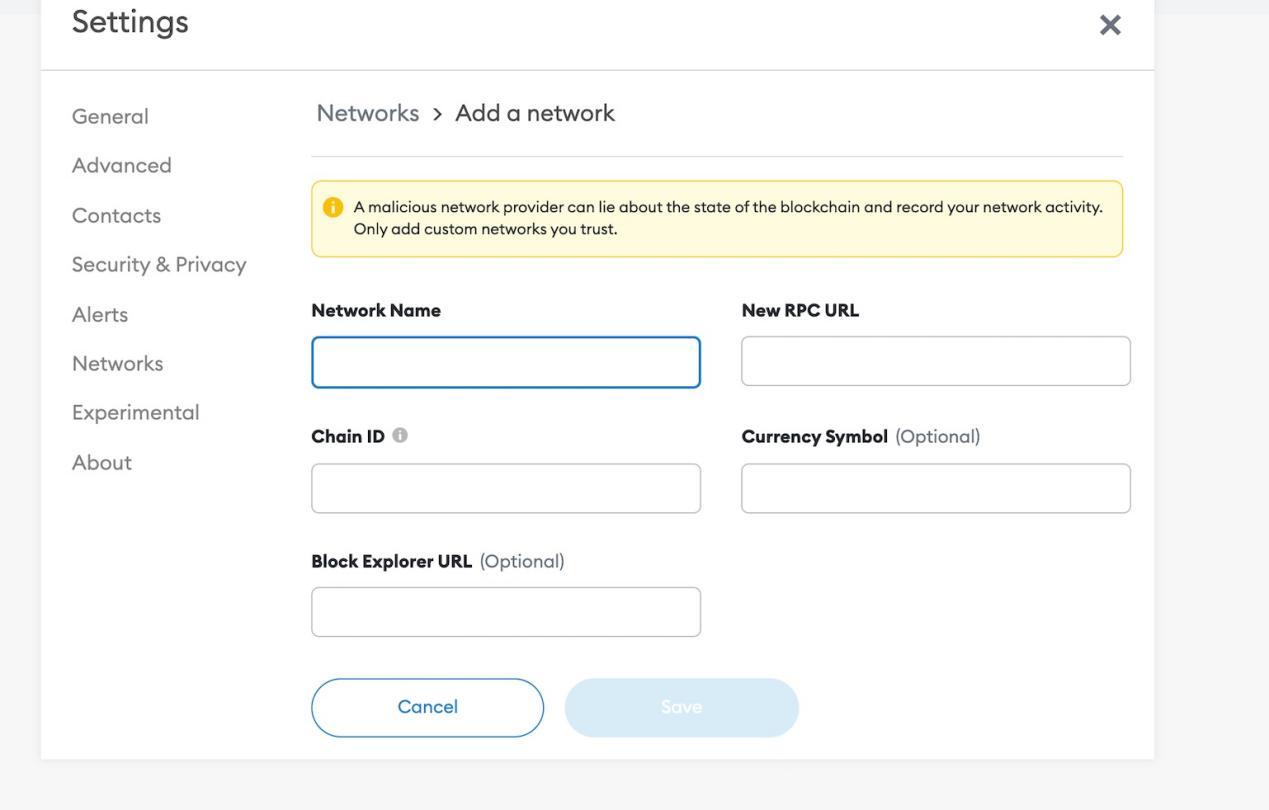
- This will open a new window where you will need to fill in the details given below in the relevant columns.
Network Name: Smart Chain
New RPC URL: https://bsc-dataseed.binance.org/
ChainID: 56
Symbol: BNB
Block Explorer URL: https://bscscan.com
- The network will be saved and will display BNB instead of Ethereum assets. You can click on the settings tab (three dots) and check your address or view your account on BSC scan as explained earlier.
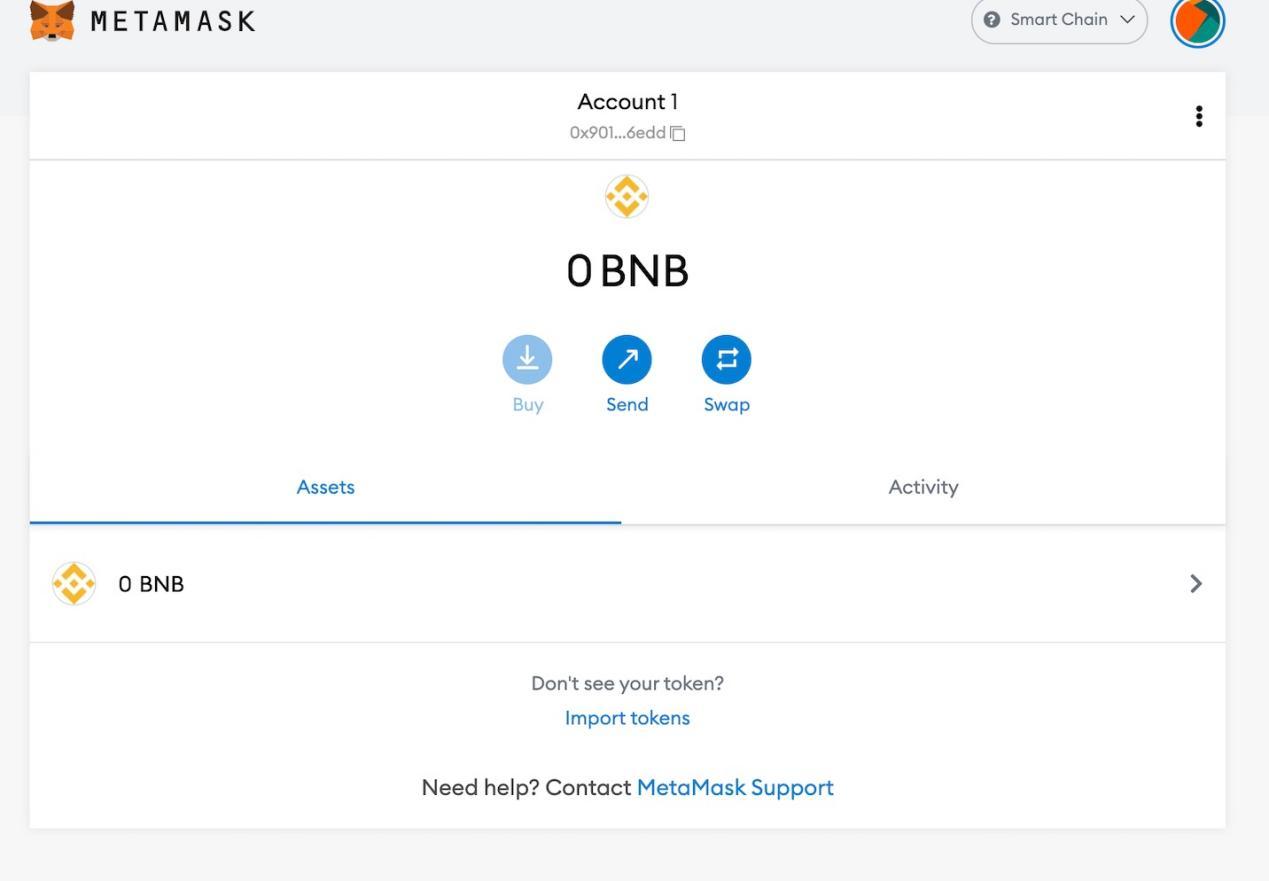
- To switch between Ethereum and Binance chain, simply click on the drop down menu and select the relevant chain as shown below.

Using Metamask to login to different services
You can use Metamask wallet to buy and sell tokens on decentralised exchanges such as Uniswap or PancakeSwap. The Metamask wallet can also be used to receive airdrops and other rewards.
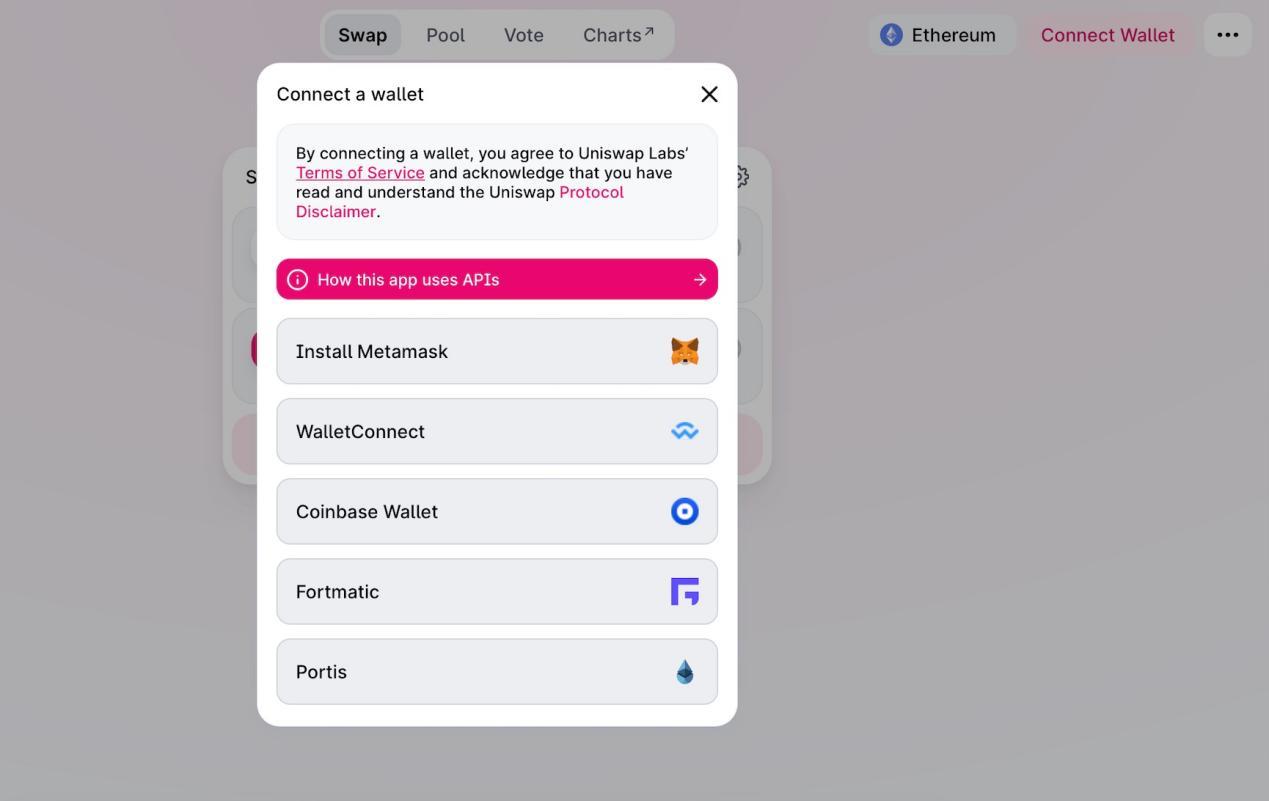
- On Uniswap, click on Connect Wallet button and it will open a new window where you can click on the Metamask option and connect your wallet as shown below. It will ask for permission which can be granted in the Metamask wallet and it will connect seamlessly with Uniswap and you can proceed to buy/sell tokens. The purchased tokens will be directly deposited to your Metamask address.
Metamask is an easy to use wallet for both Ethereum and Binance tokens. It can also be integrated for some other chains and the wallet is constantly adding new features and functionality with cross chain support. It is an easy solution to store all your assets in one wallet and is supported by most decentralised exchanges where you can trade easily at the click of a button by connecting your Metamask wallet. However, the wallet extension does not support Safari currently and apple users must use it via an app on the iOS store.